LookO2 V3 manual

Thank you for your trust and purchase of LookO2 personal air quality sensor
We hope that the device will meet your expectations – please read the manual and contact us if you have any questions.
We are available at: kontakt@looko2.com
Commissioning
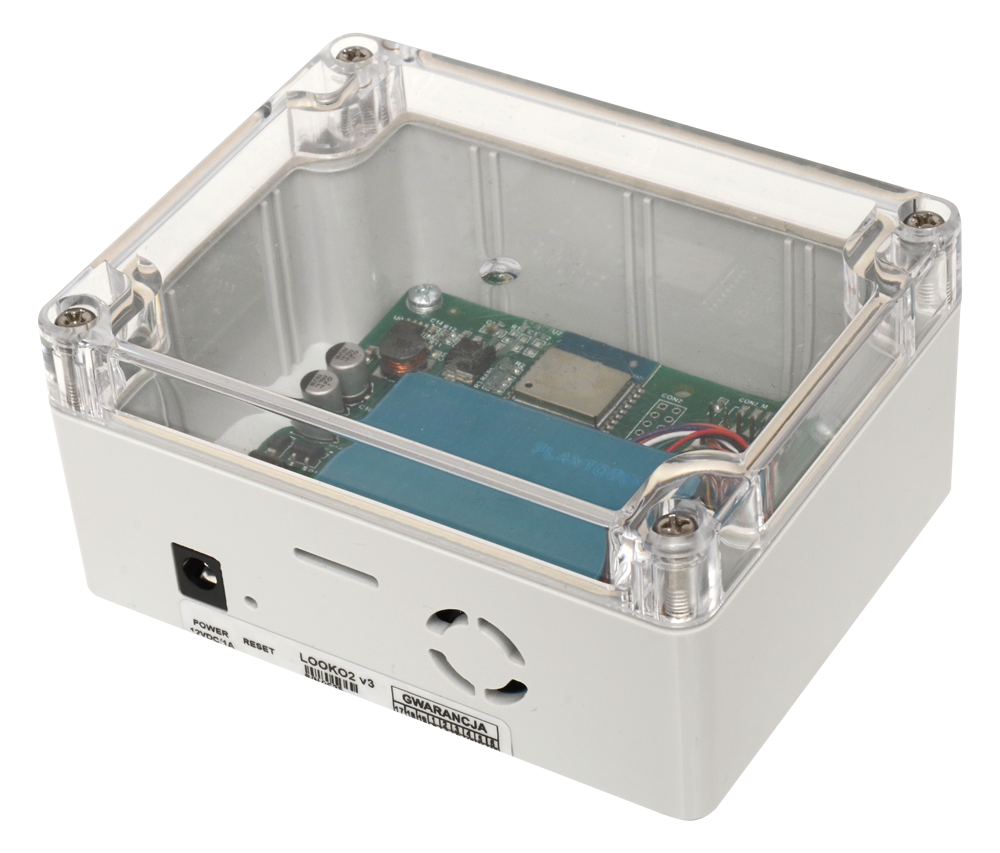
To turn on the device, you need the dedicated power supply (12V 1.4A) included with LookO2.
Before starting the sensor configuration, please prepare the sensor’s GPS coordinates, i.e. the longitude and latitude where the sensor will be installed. Thanks to this, the sensor will appear on the looko2 map and in proprietary and partner applications. This data can be supplemented later, but it requires a device reset and the configuration from scratch.
How to easily find GPS coordinates:
Items can be downloaded from the GOOGLE MAPS website by clicking on the street and copy the displayed values:

Everything is ready ?
Let’s start!
Plug the power adapter into the power supply and plug into the LookO2 device. The device will flash green several times (which means it is turning on) and start blinking white – informing us that it is waiting for configuration via WiFi. (In the gray version of the housing, the light notifications are not visible.)

When the device flashes white, it indicates that it is factory reset and ready for WiFi setup. Open the WiFi settings on your computer and search for the network named LOOKO2 and then connect to it.

After connecting to the looko2 network, open a web browser and go to the website:
A form to be completed will appear on the website:

Please complete as described below:
Select your Access Point(AP)
Select your WiFi network to which the LookO2 sensor is to connect. It is important that the sensor is placed within a good range of the WiFi network.
Provide your AP Password
Enter the password for your WiFI network
Provide your LookO2 Name
Name your device (without PL characters and spaces. Instead of spaces, please use _)
In the fourth and fifth field (Latitude, Longitude)
Provide the location of the device (it will then be visible on the map on the LookO2 website). Enter the values using a dot (no comma or any other sign – otherwise the sensor will not appear on the map).
An example of correct completion:

Coordinates can be downloaded from the GOOGLE MAPS website by clicking on the street and rewriting the displayed values:
If you do not want to specify the position where the sensor is installed, leave the default values. The sensor will then not be visible on the map or in any application.
Make LookO2 visible on Heatmap/Tracker
Turn on if LookO2 is to be visible on the map / tracker.
Enable Air Quality Index Led Notification
Turn on if you want LookO2 to glow in the Air Quality Index color. No light notifications will be visible through the gray housing. The LED brightness level can be set in the option described below.
Looko2 is installed Indoor ?
Turn on if the sensor is installed inside the room.
Use Built in GPS module for positioning
Overwrites the device position with data from the GPS module – only for LOOKO2 in the GPS version.
Please leave it turned off
Enable SmartBoot mode
Checking this option will solve the incompatibility problems of your router / access point. We suggest you enable this option. The sensor will automatically diagnose the problem and restart its services to regain connection with your network.
Choose LED Brightness
Select the brightness of the LookO2 lighting
PREMIUM – premium features available with a subscription to LookO2. More information at sklep.looko2.com
Exemplary, correct configuration:

Before pressing the Save button, please make sure that your computer is still connected to the Looko’s wifi network. If not – connect it again and then press the SAVE key.
Information about the saved configuration will appear on the next page (depending on the software version of your sensor) and the device will restart.

From this point on, the data measurement has started, LookO2 will communicate non-stop with the main server. After a while (about 5 minutes from launch) it will be available on the looko2.com map
ATTENTION
LookO2 requires good WiFi coverage – otherwise it will have problems transferring data.
Factory settings
To restore the device to factory settings, press the ‘reset’ button..

After pressing the Reset key, LookO2 will be ready to be reconfigured.
Diagnosis
LED signaling:
LookO2 indicates the operating status by flashing the built-in diodes on the selected colors.
Red– If LookO2 is flashing red 5x every minute, it means it cannot connect to WiFi. This may be due to a wrong password or a problem with the Access Point.
Green – LookO2 blinks 5x green when starting up.
Yellow – LookO2 blinks 5x when it was unable to send data to the server, the cause may be lack of or problem with the internet, or a problem with the server.
White – LookO2 flashes white continuously when it is ready to configure
Pink – the sensor performs an automatic connection diagnosis and retry sending data (Enabled SmartBoot mode option)
Assembly
In order to properly install the device, please use the brackets included in the set that allow for quick installation of the sensor to flat surfaces.

After installation, the sensor openings (inlet, air outlet, power cable) must face downward.

Warning!
The included power supply is not waterproof, and must be installed under a roof or suitable cover.
Important: Make sure the LookO2 is mounted with the holes facing downwards as in the picture above to avoid water getting into the unit.
Do not install the sensor in a place exposed to direct sunlight.
Frequently asked questions, how to find the sensor, and all new information can be found on the looko2.com website in the NEWS tab (top menu). We recommend that you read the FAQ article – frequently asked questions